
I’m excited to announce that I published the second episode of my weekly podcast, “OpenAI Changes Everything.” You can watch/listen to the latest episode on YouTube, Apple Podcasts, or your favorite podcast platform. Or, you can listen to the episode right here:
Episode Title: “Forms are Dead, Conversations are the Future”
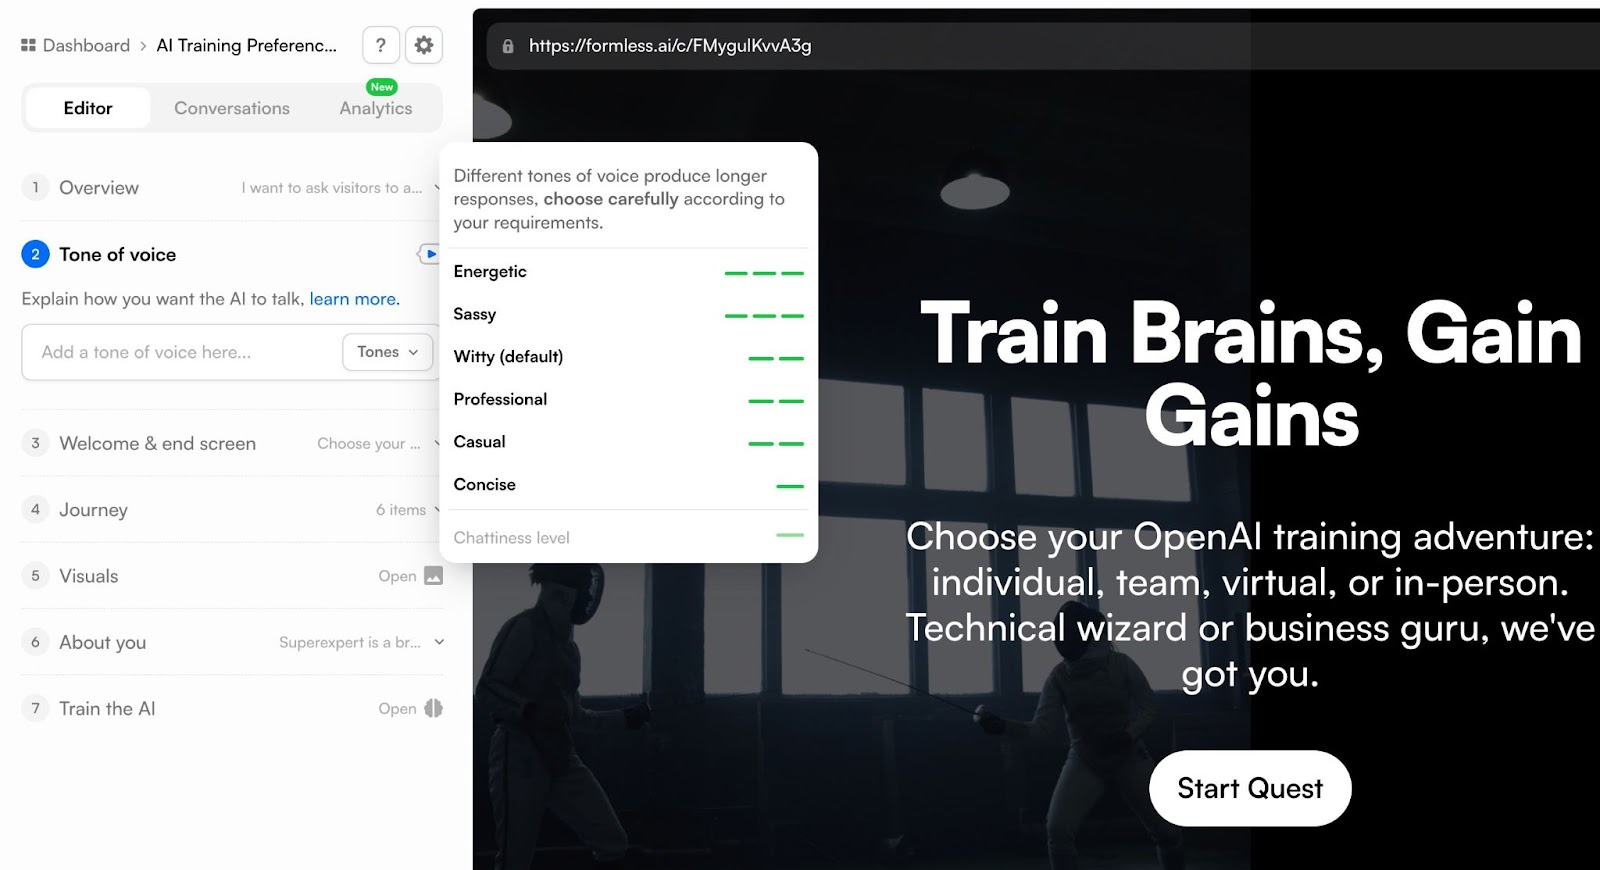
In this week’s episode, I interview Nicolas Grenié about a groundbreaking new product powered by OpenAI named Formless, which replaces traditional forms with dynamic conversations. We delve into whether it still makes sense to use forms to collect information from users in this new age of conversational AI. Is conversation fundamentally a better technology for collecting user input than forms?
Here are some key highlights from the episode:
- Revolutionizing User Input: How Formless is changing the way we gather information.
- Technology Comparison: Forms vs. Conversations – which is more effective?
- Practical Applications: Real-world examples of Formless in action.
I encourage you to experiment with Formless. It only takes a couple of minutes to set up, and playing with the different configuration options is fun. For example, you can set the tone of voice of the AI conversation to be “Sassy” or “Witty.”
Join the Conversation!
What do you think? Is conversational AI the future of user input? Share your thoughts in the comments below!
Don’t Miss Out:
Don’t miss this episode! And don’t forget to subscribe to the “OpenAI Changes Everything” podcast for more expert discussions on the future of AI. Upcoming episodes will cover AI Writing Detection, AI in Education, Responsible AI, and AI in Healthcare. Feedback on the episodes is always welcomed and appreciated!